
Loading...

MiniMax H3 Text to Image

0/5000
Aspect Ratio
Resolution
Images
Output format
Required credits
4

Sample Images

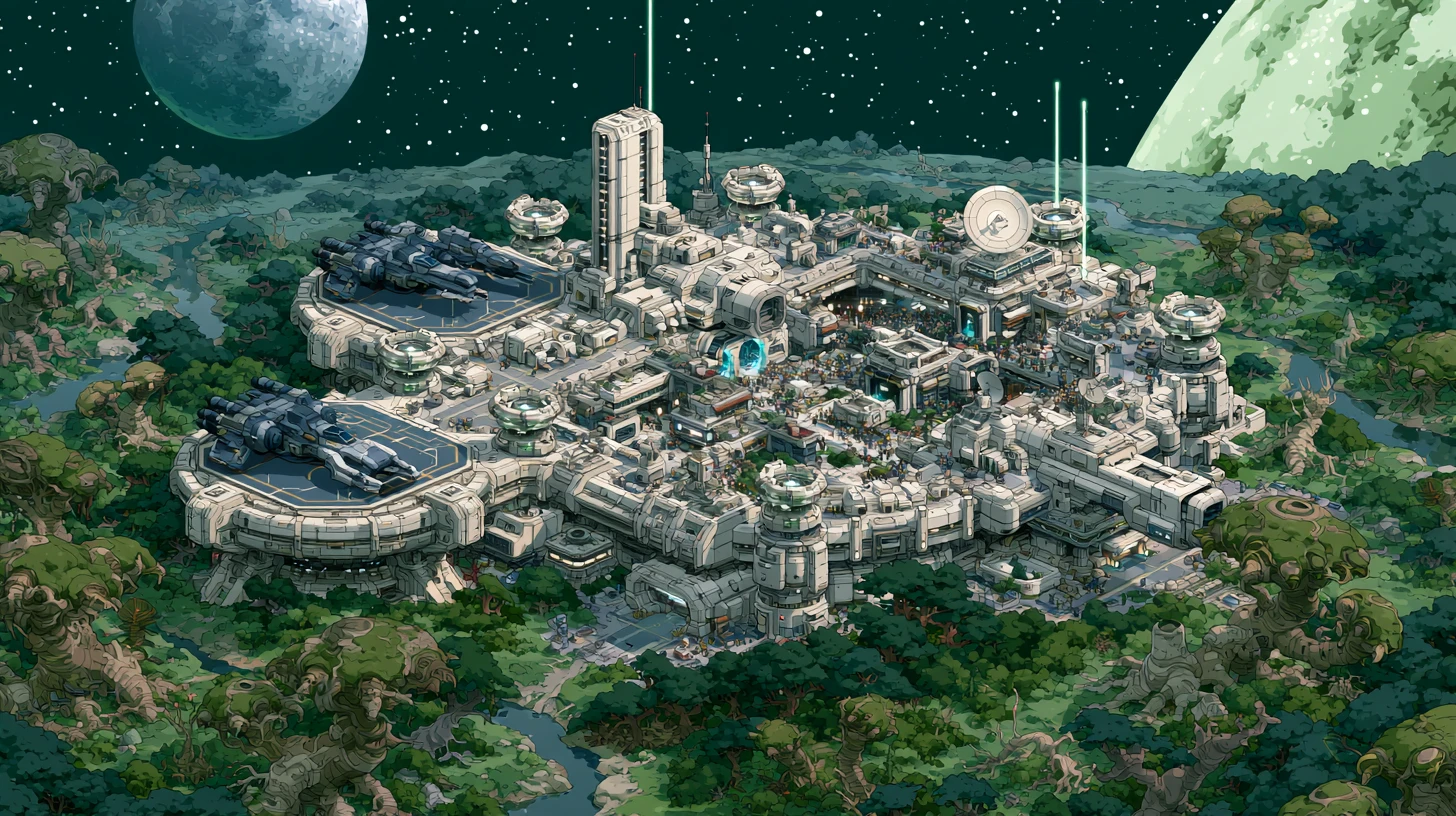
A futuristic forest outpost beneath two moons

MiniMax H3 Text to Image

Create a still image from a written brief. Use the MiniMax H3 Image text-to-image mode to sketch a product concept, plan an editorial frame, or explore an illustration before you have source art. Describe what belongs in the frame, choose its shape and size, and refine the prompt after you see the first image.

How to generate an image from text

  1. Write the brief in order of importance

    Start with one sentence that names the main subject, its action, and the setting. Then add what a person could see in the finished image: a side view, a dark green jacket, a small cup in the foreground, or light falling from the left. Put the detail that makes the scene recognizable near the start. If several objects need to appear, give each one a position or role so their relationship is clear.

  2. Set the canvas for the finished image

    Choose an aspect ratio that fits where the image will appear. Use 1:1 for a square tile, 16:9 for a wide header, or 9:16 for a vertical story. Start at 1K while deciding between compositions. Once the framing works, use 2K or 4K if you need more detail for close viewing or enough pixels to crop the image. On AI H3 Image, 2K and 4K require paid access.

  3. Generate and check the first image

    Generate a first pass and open the image at a larger size. Check the requirements you would reject the image for missing: the subject count, viewpoint, important colors, and anything the frame must keep visible. Save a promising result before revising the prompt. If the main composition is wrong, change the wording about position or scale before spending another pass on surface detail.

Plan the composition before you generate

The canvas sets the shape of the image. Your prompt tells the model what should occupy that space. These composition ideas give you language for controlling scale, depth, and room for a headline.

Use a landmark to anchor a wide scene

In a wide landscape, give the eye one recognizable subject and a route to it. A line of light on a winding river can lead toward a boat, while the cliffs provide context and scale. Try describing the boat as small against the canyon and placing it near the lower third. That gives the river room to bend across the frame. If the scene starts to look busy, remove a secondary landmark before adding more instructions about color.

Small red-sailed boat on a luminous river between cliffs

Separate foreground, subject, and background

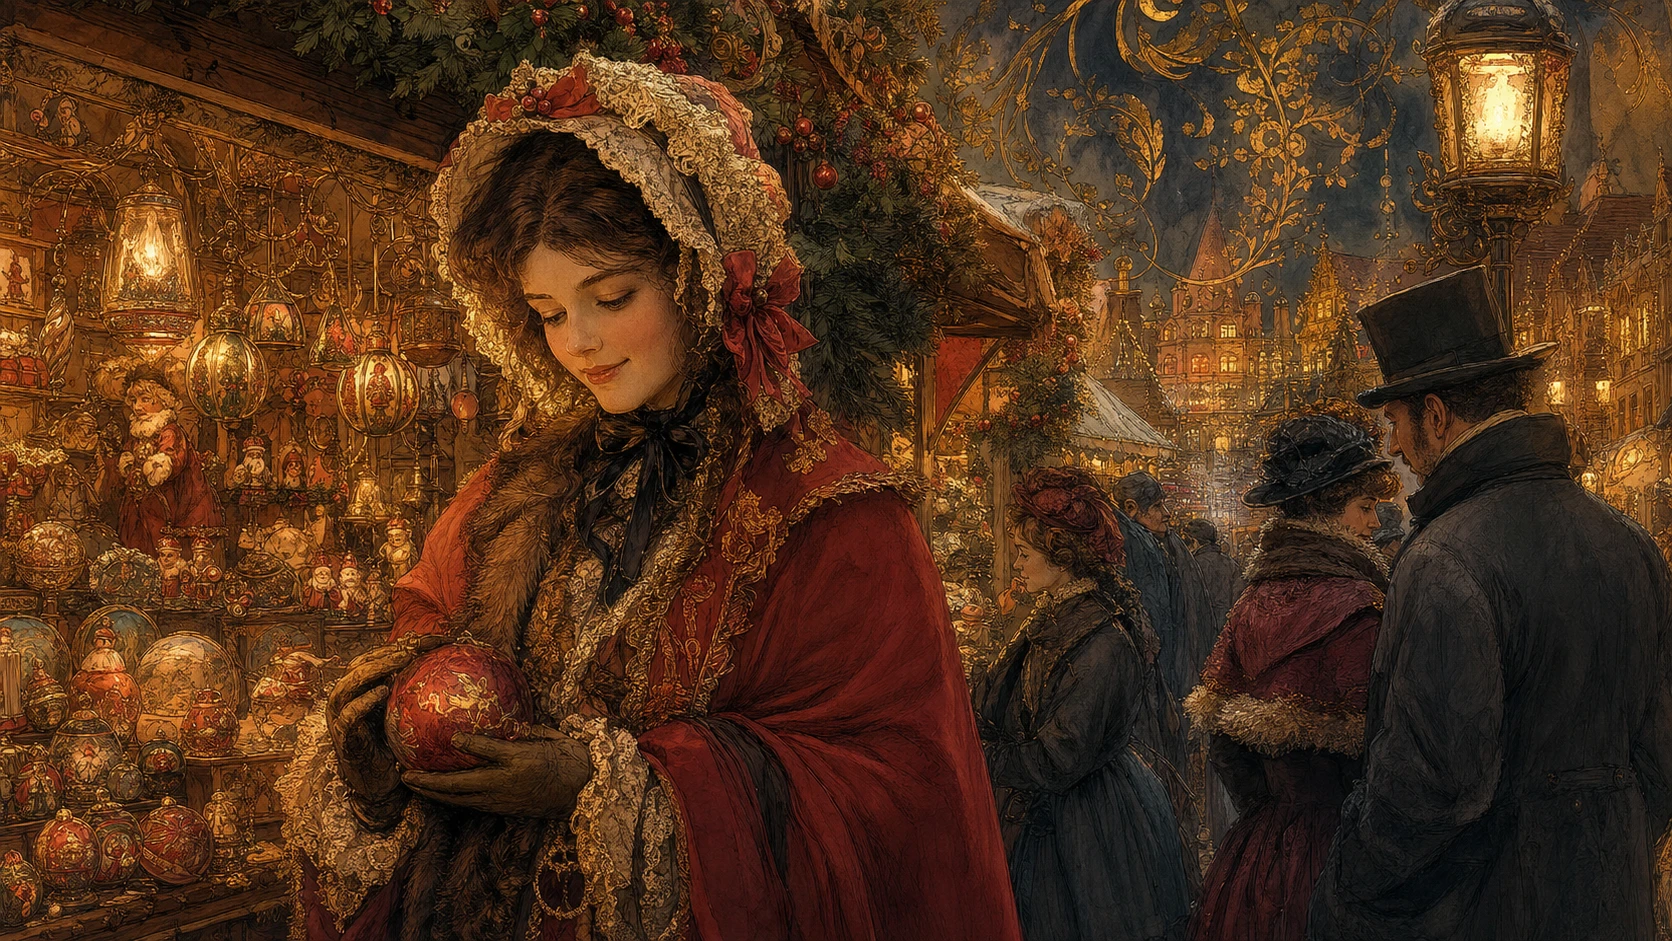
For an editorial scene, assign the objects closest to the viewer, the main activity, and the distant setting to different depths. In a winter market, a lantern near the edge can frame the scene, the stall and vendor can occupy the middle distance, and the far street can recede into cool air. Keep the brightest patch of light close to the action. This gives each layer a job and makes the scene easier to read at thumbnail size.

A woman holding a red ornament at a lantern-lit winter market

Leave a clear area for a headline

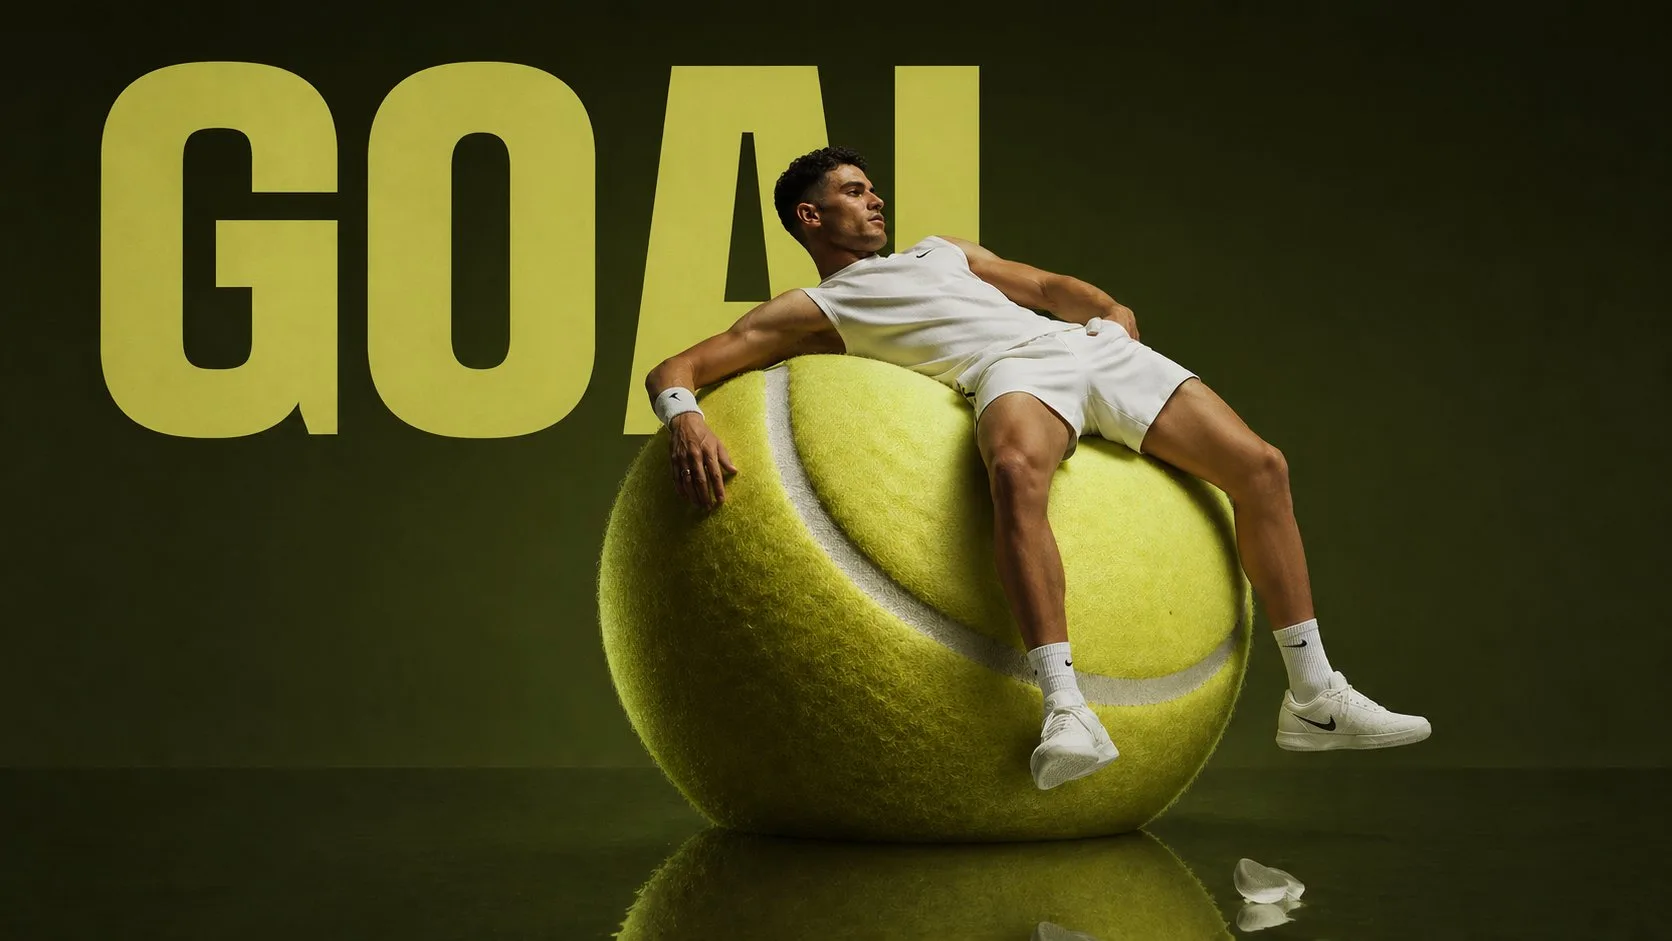
If the image is going into a campaign layout, decide where the headline will sit before generating. Place the athlete and prop toward one side and describe the other side as a quiet stretch of sky or a plain studio wall. Give the edge extra clearance if the layout will be cropped on mobile. Check the image at the dimensions where it will appear. A patch that looks empty at full size can still be too busy behind a short line of type.

Athlete reclining on an oversized tennis ball beside the word GOAL

Four MiniMax H3 Image prompts to adapt

Paste one of these prompts into the workbench and swap the subject or setting for your own. Keep the position and lighting instructions intact on the first pass so you can see what they contribute.

Product still life with material detail

Photograph one matte olive-green ceramic mug on a warm gray stone plinth, viewed at a slight angle from just above the rim. Turn the handle to the right so its opening is visible. Use a large soft window on the left and a gentle shadow on the right. Keep the pale background seamless. Leave an even margin around the mug and show the fine speckling in the glaze.

Editorial portrait with a clear gesture

Create a waist-up editorial portrait of a violin maker standing at a workshop bench, holding a single unfinished violin across both hands. Keep the face and instrument in the same plane of focus. A tall window on the left lights the wood grain, while shelves and tools fade into soft shadow. The maker is looking down at the instrument. Use restrained colors and leave the hands fully inside the frame.

Illustrated map with a readable route

Draw an overhead illustrated map of an imaginary island on cream paper. Place a lighthouse on the northern headland, a fishing village by the eastern harbor, and a pine grove inland. Connect the village to the lighthouse with one dotted trail that skirts the edge of the grove. Use deep blue for water and muted green for land. Leave a quiet corner for a legend and keep the route visually distinct from the coastline.

Poster layout with room for type

Design a vertical poster background for a night cycling event. Show one cyclist in a bright orange jacket riding across the lower third of the frame, with a single beam from the front light tracing the asphalt. Use a deep midnight-blue sky and a low horizon. Keep the upper half simple and dark so a white event title can be placed there later. Keep the silhouette legible at a small size.

MiniMax H3 Text to Image FAQ

Find the right starting point, choose a file format, and decide what to change when a draft misses the brief.

A written prompt is enough. This workbench creates a new image from the scene you describe. When you have a specific photo, product, or illustration that the result should follow, use the Image to Image editor and describe what to preserve from that source. A text description alone gives the model room to invent details such as the exact shape of a product or a person's appearance.

MiniMax H3 Image is the Standard option in the MiniMax group. The Standard and Highspeed versions both accept a written prompt and offer the same framing and resolution choices. If you are deciding between them for an ongoing project, compare the same brief at the same settings. For a product image, inspect details such as the handle shape and surface texture. For a poster, check the separation between the subject and the area reserved for type.

Turn your brief into a MiniMax H3 image

Bring a prompt into the workbench and make a first draft for the frame you need. If you already have an image you want to change, open the reference editor.