

Loading...

MiniMax H3 Image Editor

Images
0 / 16
0/5000
Aspect Ratio
Resolution
Images
Output format
Required credits
4

Sample Images

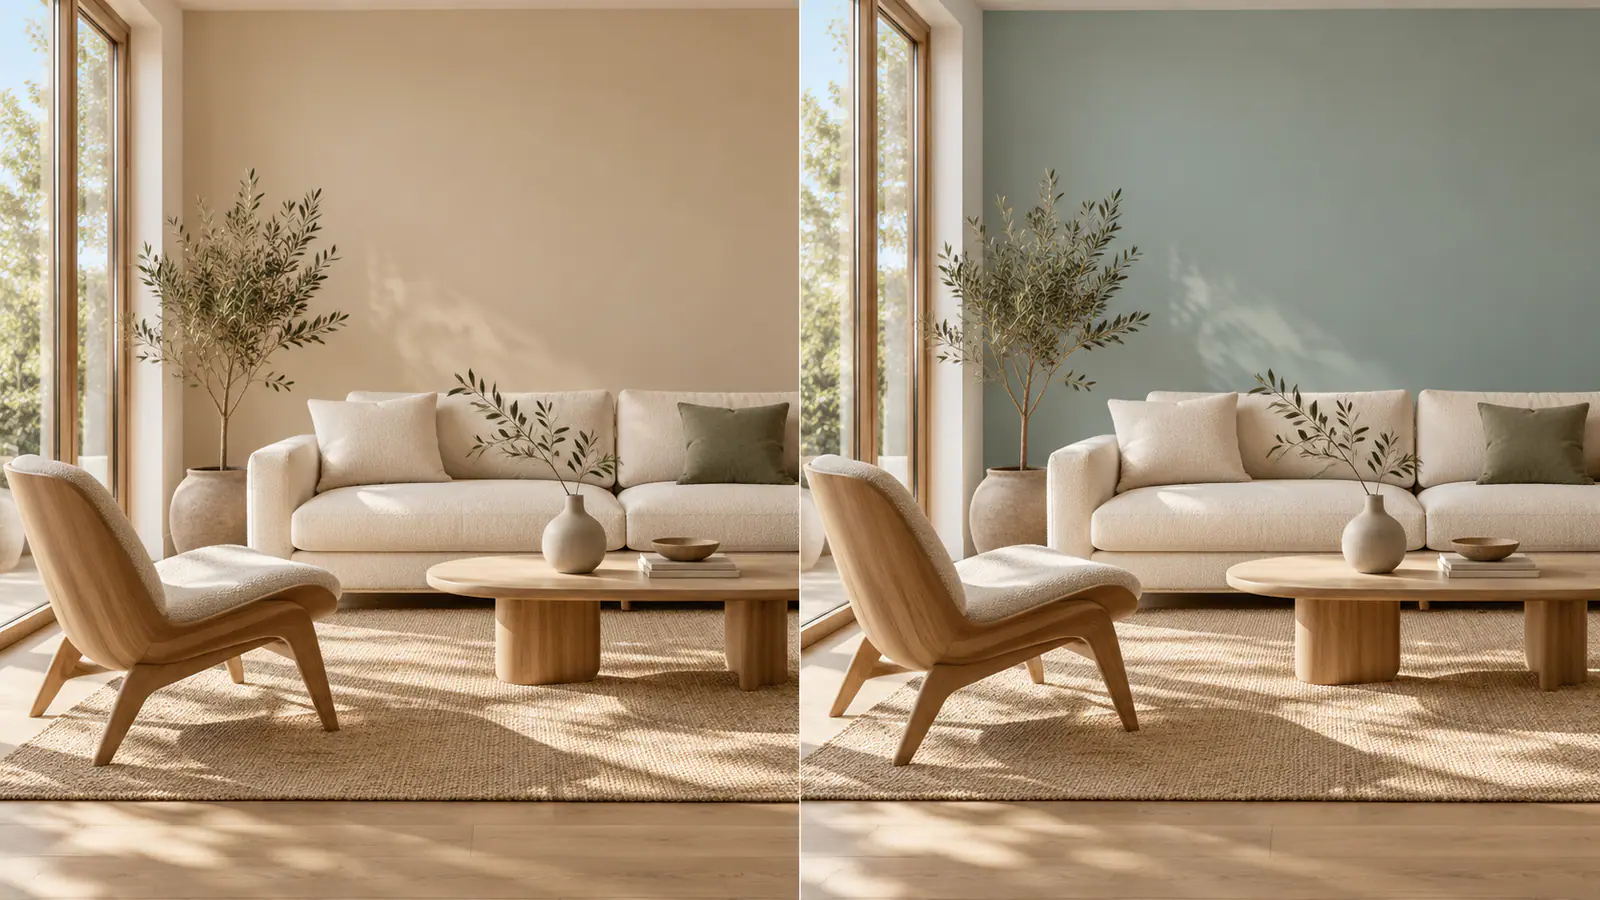
Two views of a furnished living room showing a beige wall and a muted blue wall

MiniMax H3 Image Editor

Upload a photo and tell MiniMax H3 what to change. Replace a distracting background, recolor one object, or soften harsh light while guiding the editor to preserve the subject and framing. Start with one clear instruction, then compare the edited image with your original before exporting it.

A brass lamp on a stone bedside table in warm window light

How to edit a photo with MiniMax H3

  1. Upload the original photo

    Choose the version closest to the result you want. A front-facing photo gives the editor a clear view of a product label, while a wider shot leaves room to change the surrounding scene. If you only need to fix one detail, start with one image. Use a source where that detail is visible at the size you plan to export. Keep your original handy so you can compare edges and framing after the edit.

  2. Say where the change should happen

    Name the object, its position, and the new appearance. Then identify the details you want to carry over. For a countertop scene, you might write “Change the glossy counter beneath the bottle to matte limestone. Keep the bottle, label, camera angle, and window light.” Use a landmark such as “behind the bottle” or “along the left edge” if the scene has more than one object of the same color. Those cues help define the scope of the request.

  3. Generate a draft and check it at full size

    Pick an aspect ratio that fits the final placement. Choose one close to the source if the crop matters, then run the edit. Put the original and the result side by side. Look at the requested change first, then inspect anything you asked H3 to preserve. When a result is almost right, make a second request that names the issue you spotted. Use the original again when a key detail such as a logo has drifted.

MiniMax H3 editing prompts for everyday photo fixes

Use these prompts as starting points. Replace the object, position, and surface details with what you can see in your own photo.

Replace the background behind a reflective product

Try “Replace the dark background behind the perfume bottle with pale gray seamless paper. Keep the bottle centered at the same size. Preserve the amber glass, cap, and label. Keep a soft contact shadow on the surface below.” Reflections help a glass object feel like it belongs in the scene. If you change a warm room to a cool studio, describe how the new light should appear in the glass and which product colors should stay fixed. Check for a pale outline around the cap and read the label at its intended display size. For a marketplace listing, compare the silhouette with the original before publishing the result.

Edit a photo
Amber perfume bottle on a stone platform against a dark background

Recolor a single object or pattern

Try “Recolor the green leaf pattern on the box beside the figurine to muted navy. Keep the light cardboard, the figurine, and the tabletop as they are. Preserve the printed pattern and the shadows along the folds.” This brief identifies the print as the area to change. If the photo includes a second green object, mention it explicitly in the preservation instruction. Name the finish as well as the hue when you care about the surface. Matte ink, a glossy coating, and dyed paper react differently to the same light. Compare the corners and folds to see whether the new color follows the original surface.

Edit a photo
Mushroom gardener figurine beside a box decorated with a leaf pattern

Soften window light in a portrait

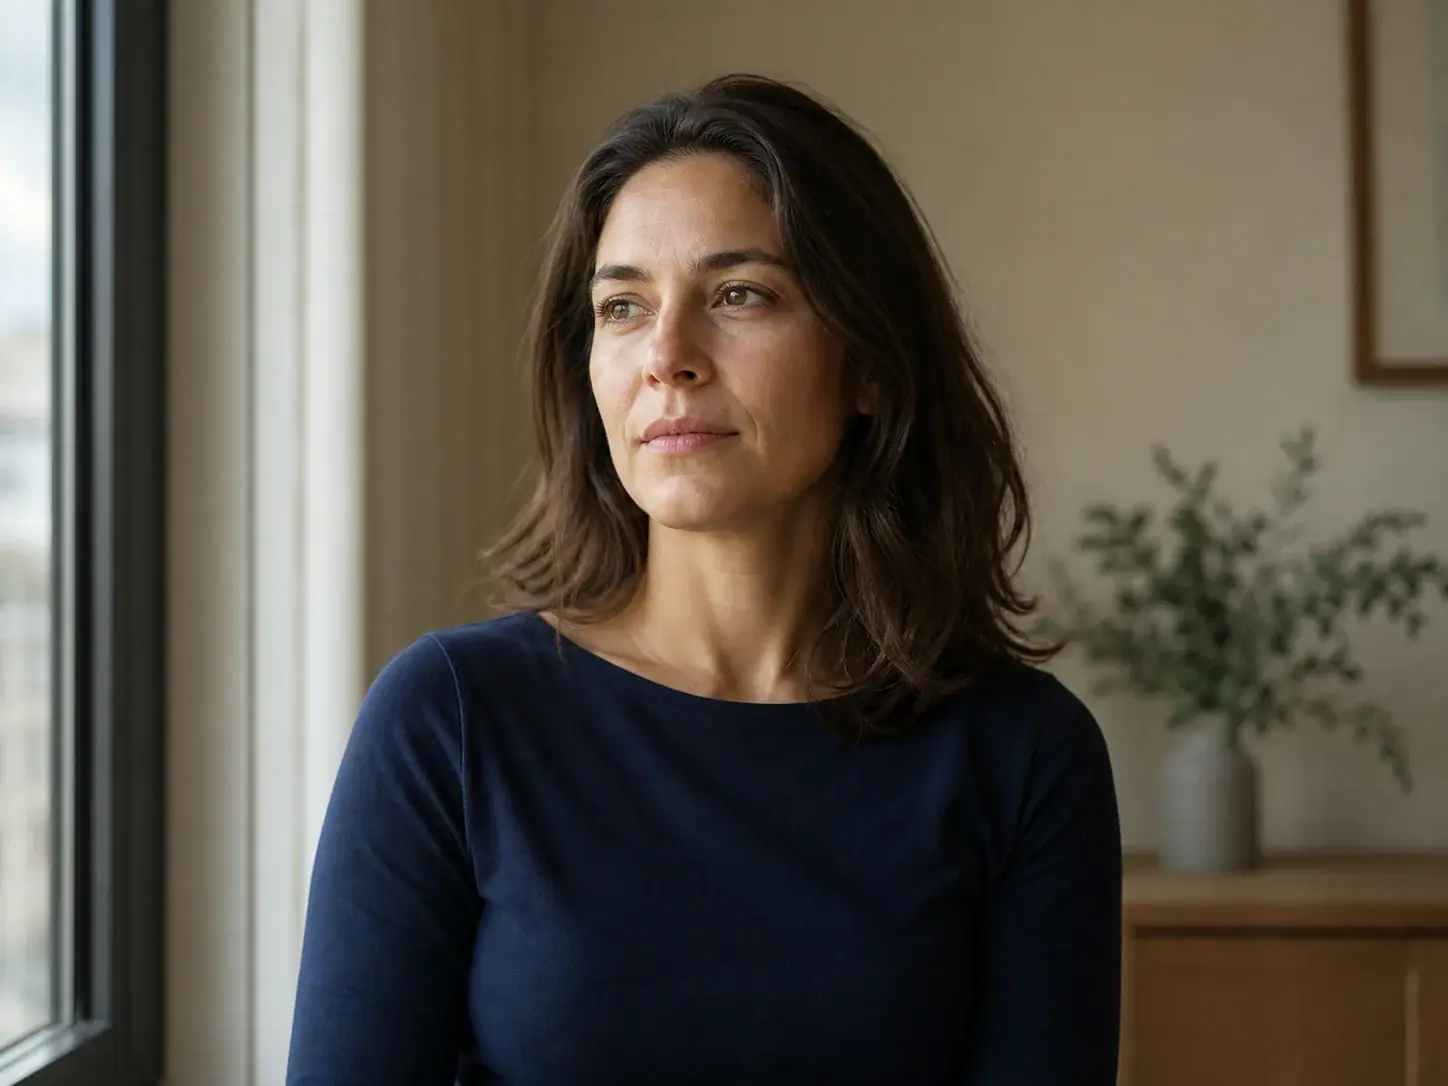
Try “Diffuse the light from the window into soft overcast daylight. Lift the shadow on the far side of the face slightly. Keep the gaze, expression, skin texture, clothes, and camera angle.” Describe the direction and softness of the light before adding a style reference. If the editor changes the face when you only wanted to adjust exposure, retry from the source with a smaller change, such as lifting shadows on one cheek. Compare the eyes and mouth first, then inspect the contrast at the hairline. A small light adjustment can make a series feel more consistent when you want to keep the original pose and setting.

Edit a photo
A portrait beside a window in soft light

What to inspect before exporting an edit

Review the result once at its final display size and once up close. Different defects show up at different scales.

Follow the outline of the change

Zoom in where a new background touches hair, glass, or thin metal. These edges can reveal fragments of the old color. If you see a fringe, identify the exact edge in your next instruction, such as the right side of the handle. Check both sides of a transparent surface because its interior may reflect the old scene.

Compare angles and proportions

Use fixed points in the photo as landmarks. Compare where a table meets the wall or where the cap meets the bottle. A small shift can matter when several product photos must align in a carousel. Check that the base, top, and widest point still line up when the two images are scaled equally.

Check textures and shadows together

A recolored fabric should still show folds and weave in the shaded areas. A replaced surface should still support the objects resting on it. Look for contact shadows underneath and a consistent light direction across the scene. If the surfaces seem flat, describe which texture or shadow should remain visible in the next edit.

Proofread visible lettering

Read names, numbers, and lettering on the result before using it in a listing, menu, or poster. Compare them directly with the source. For a deliverable that requires exact type, plan to retain the original lettering as a separate layer in your design editor. That lets you proofread it independently of the generated photo.

MiniMax H3 Image Editor questions

Describe the area in the prompt using its position and nearby objects. For example, ask to darken the cushion on the left chair and keep the cushion on the right chair unchanged. The editor regenerates the frame from that instruction. For pixel-precise control over the area outside the edit, keep the original as a layer in your design editor.

Use the latest result when it already preserves the details you care about and you want to build on the edit. Return to the original when a face, logo, or object shape has shifted. Repeated passes can carry small changes forward, so keep a copy of the last version that still matches the source where it matters.

Start with one photo and one change

Pick a photo with a detail you want to keep. Tell H3 what to change around it, then compare the edit with your source. For broader transformations or projects built from several references, open the Image to Image workspace.