
Loading...

GPT Image 2.5

Images
0 / 16
0/10000
Aspect Ratio
Resolution
Images
Required credits
6

Sample Images

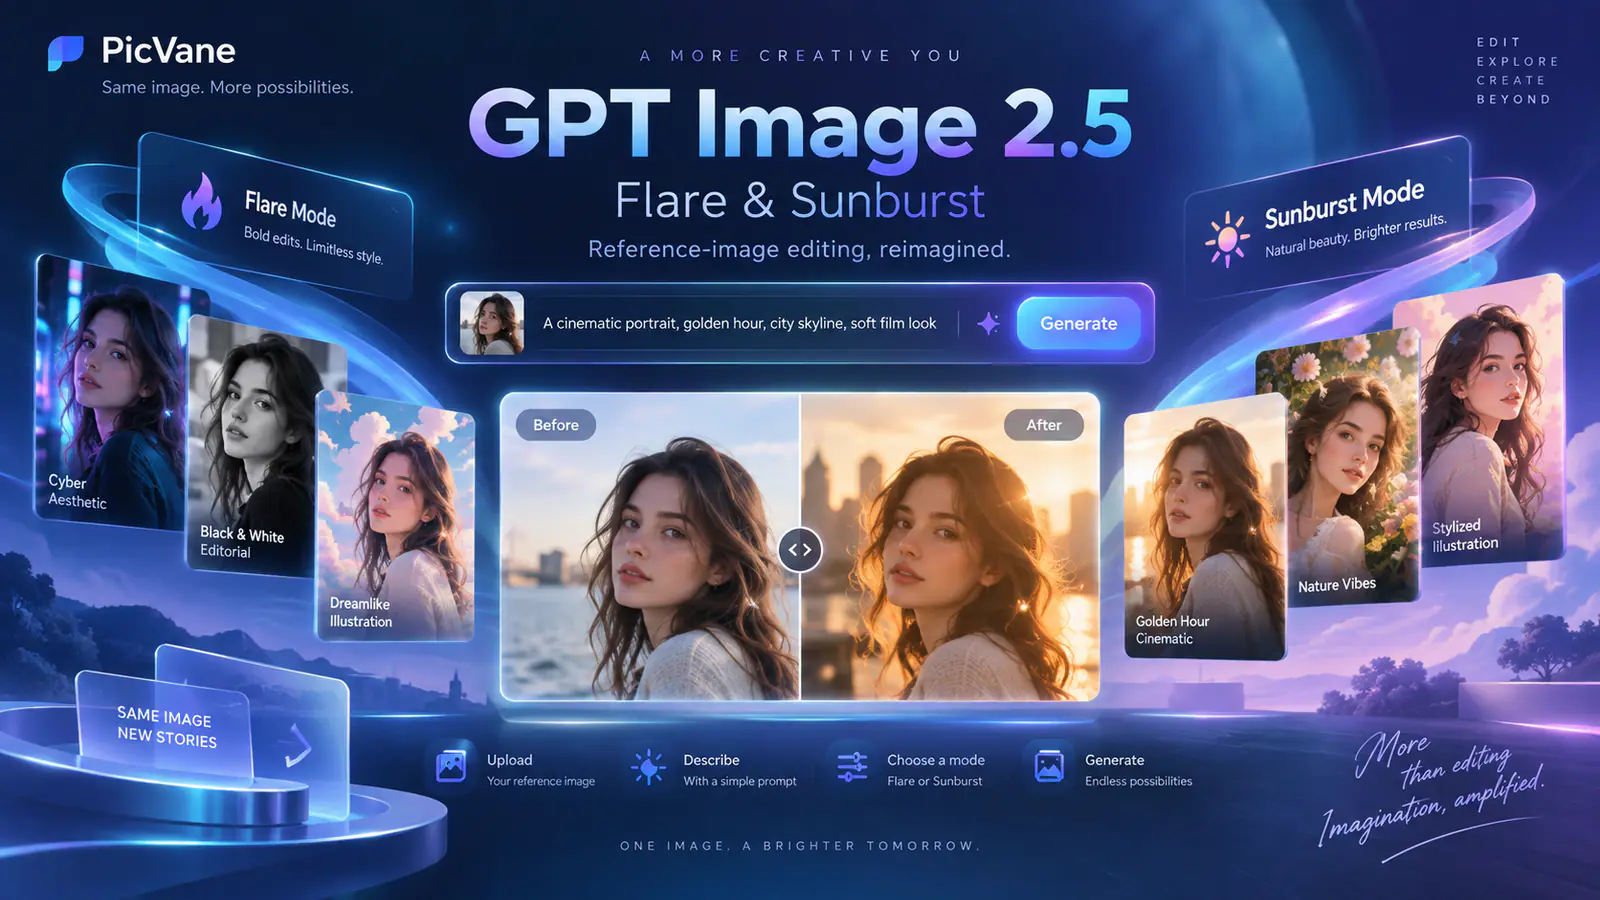
Illustrated comparison of GPT Image 2.5 Flare and Sunburst

GPT Image 2.5: Flare vs Sunburst

Compare GPT Image 2.5 Flare and Sunburst on AI H3 Image using the same source photo and editing prompt. Start with Flare to explore a direction, or choose Sunburst when the edit calls for close attention to details. The workspace uses Image to Image, so bring a reference that clearly shows what you want the result to preserve.

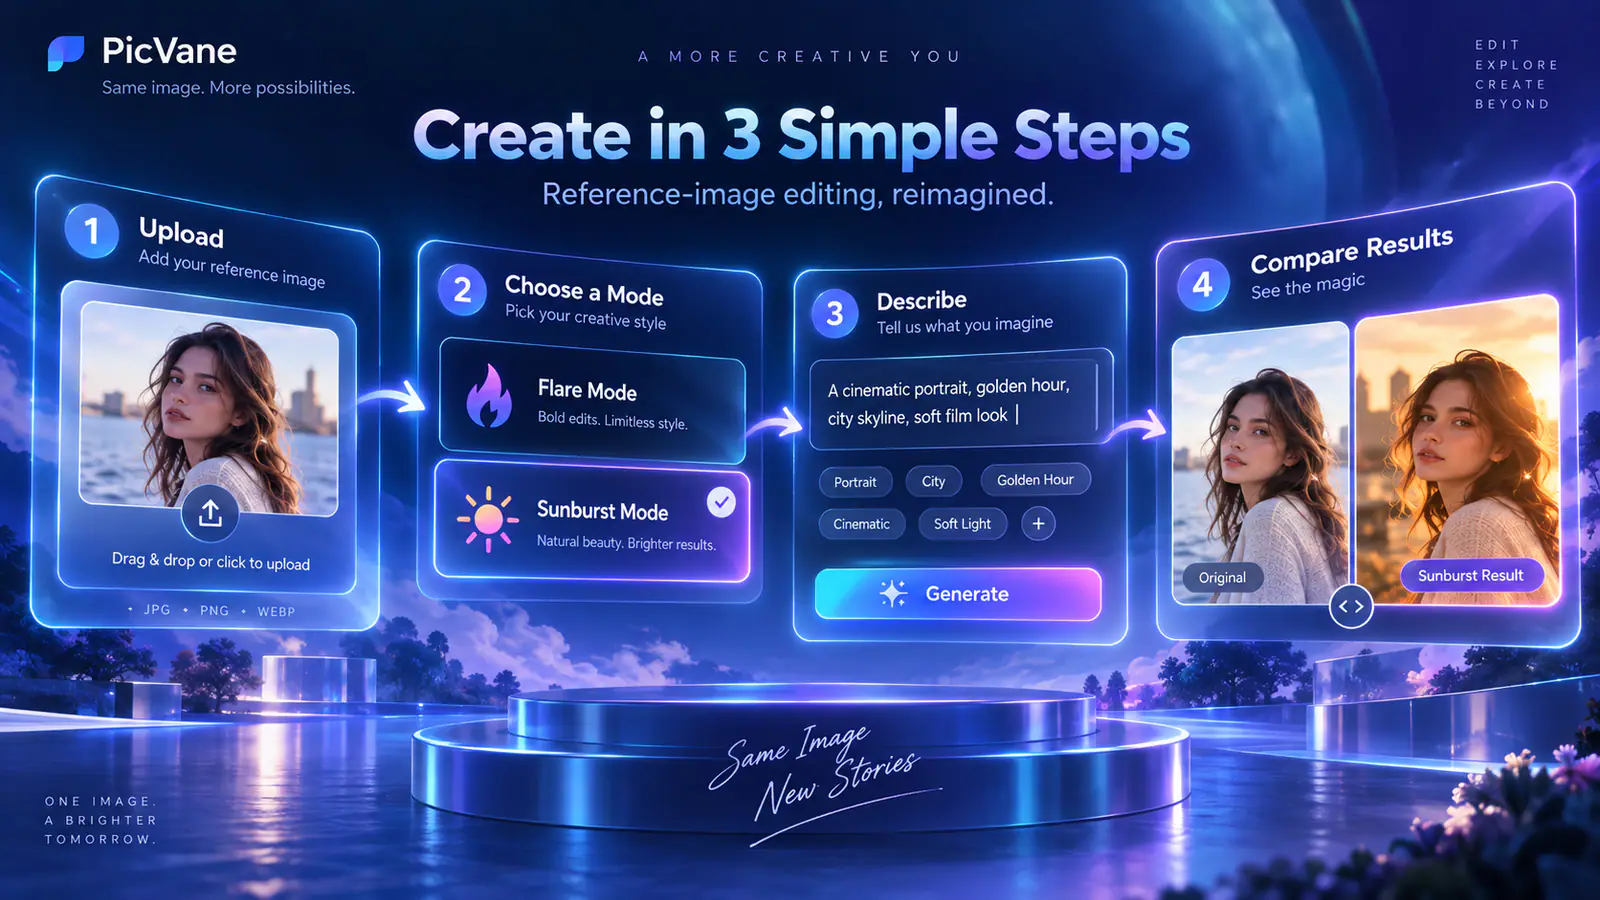
Illustrated four step workflow for editing an image with GPT Image 2.5

How to edit with GPT Image 2.5

Use one reference and one editing brief for your first comparison. Keeping the inputs the same makes it easier to spot differences between the models.

  1. Choose Flare or Sunburst

    Start with Flare when you are trying out compositions or setting a visual direction. Pick Sunburst for an edit where a small change in texture, lettering, or product shape could make the result unusable. If you compare both, keep the aspect ratio and resolution the same so the frame does not influence your choice.

  2. Upload a reference and describe the edit

    Choose a clear photo that shows the details you need to keep, such as a handle, label, or facial feature. Write the change and what should stay in separate sentences. For example: Replace the background with a pale blue kitchen wall. Keep the mug, logo, handle shape, and camera angle. If you add a second reference, say which image supplies the subject and which supplies the style.

  3. Check the credits and review the result

    Review the credit amount in the workspace before you submit. Once you have a result, open it at the size you plan to use. Compare the requested change with the original and look for anything else that shifted. If you try the other model, reuse the original photo and prompt to see how each handles the same request.

Three reference edits to compare

Try a new setting, a product revision, or a lighting change. Each brief gives you a specific detail to compare with your source image.

Move a recognizable subject to a new setting

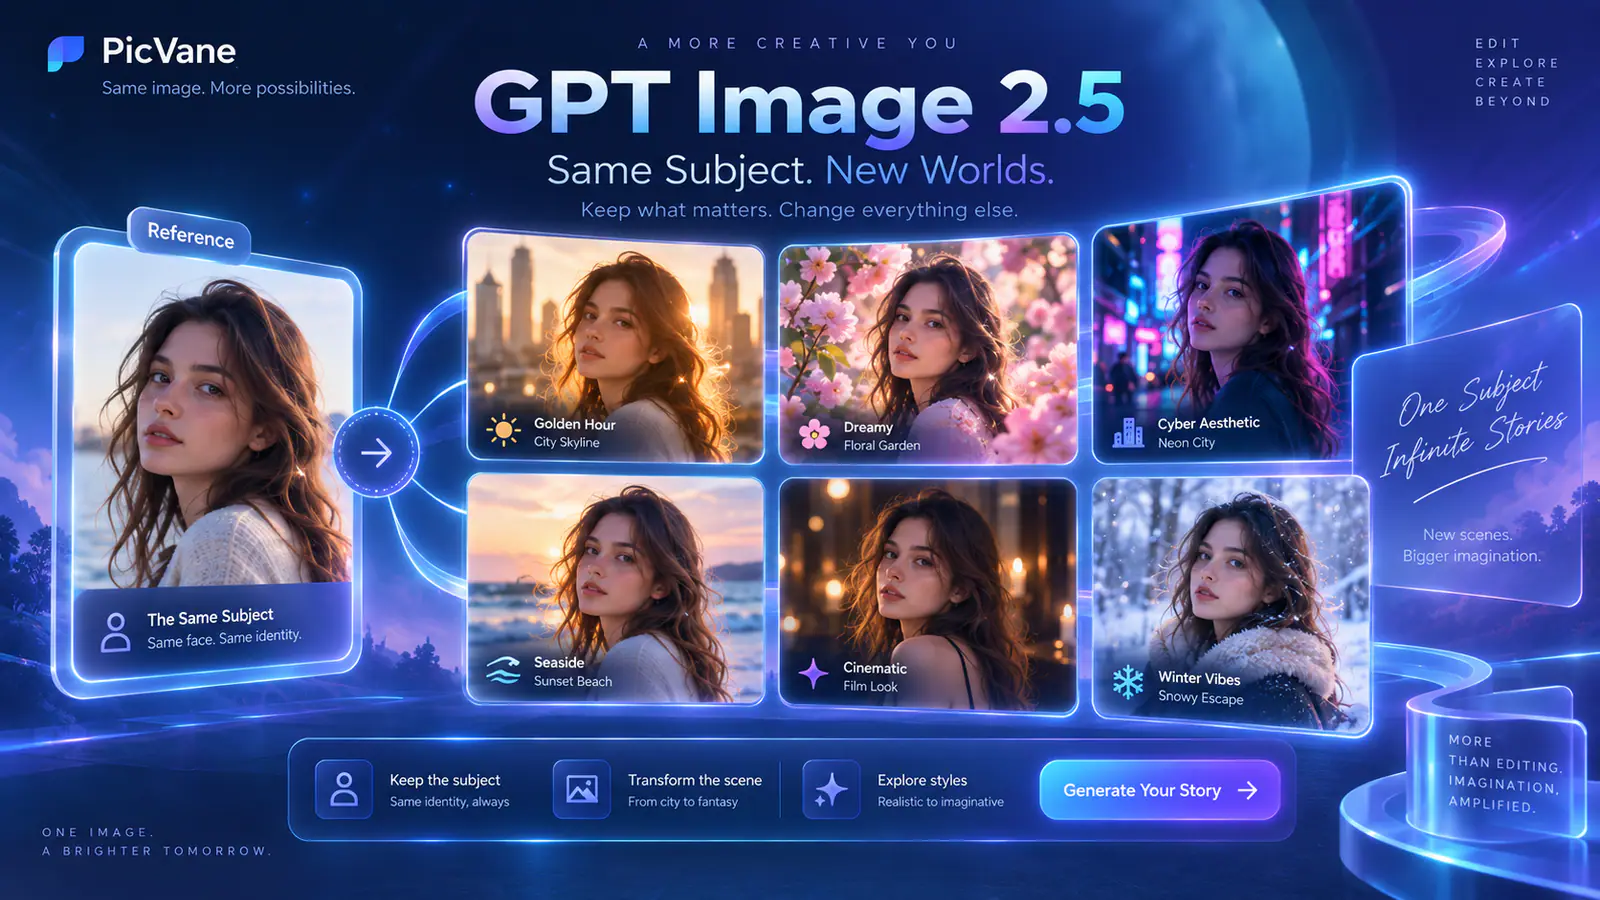
A reference can carry a person, pet, or object into a different scene. Start with a source that shows the subject without obstructions, then describe its new surroundings. For a bicycle, try moving it from a garage to a storefront while keeping the frame geometry, paint, and basket. Compare the outline and recognizable marks in the result. If a detail changes, name it in a narrower follow-up prompt and use the last version that still shows it clearly.
Try a Reference Pass
Illustration of the same subject in several scenes

Revise a product photo one detail at a time

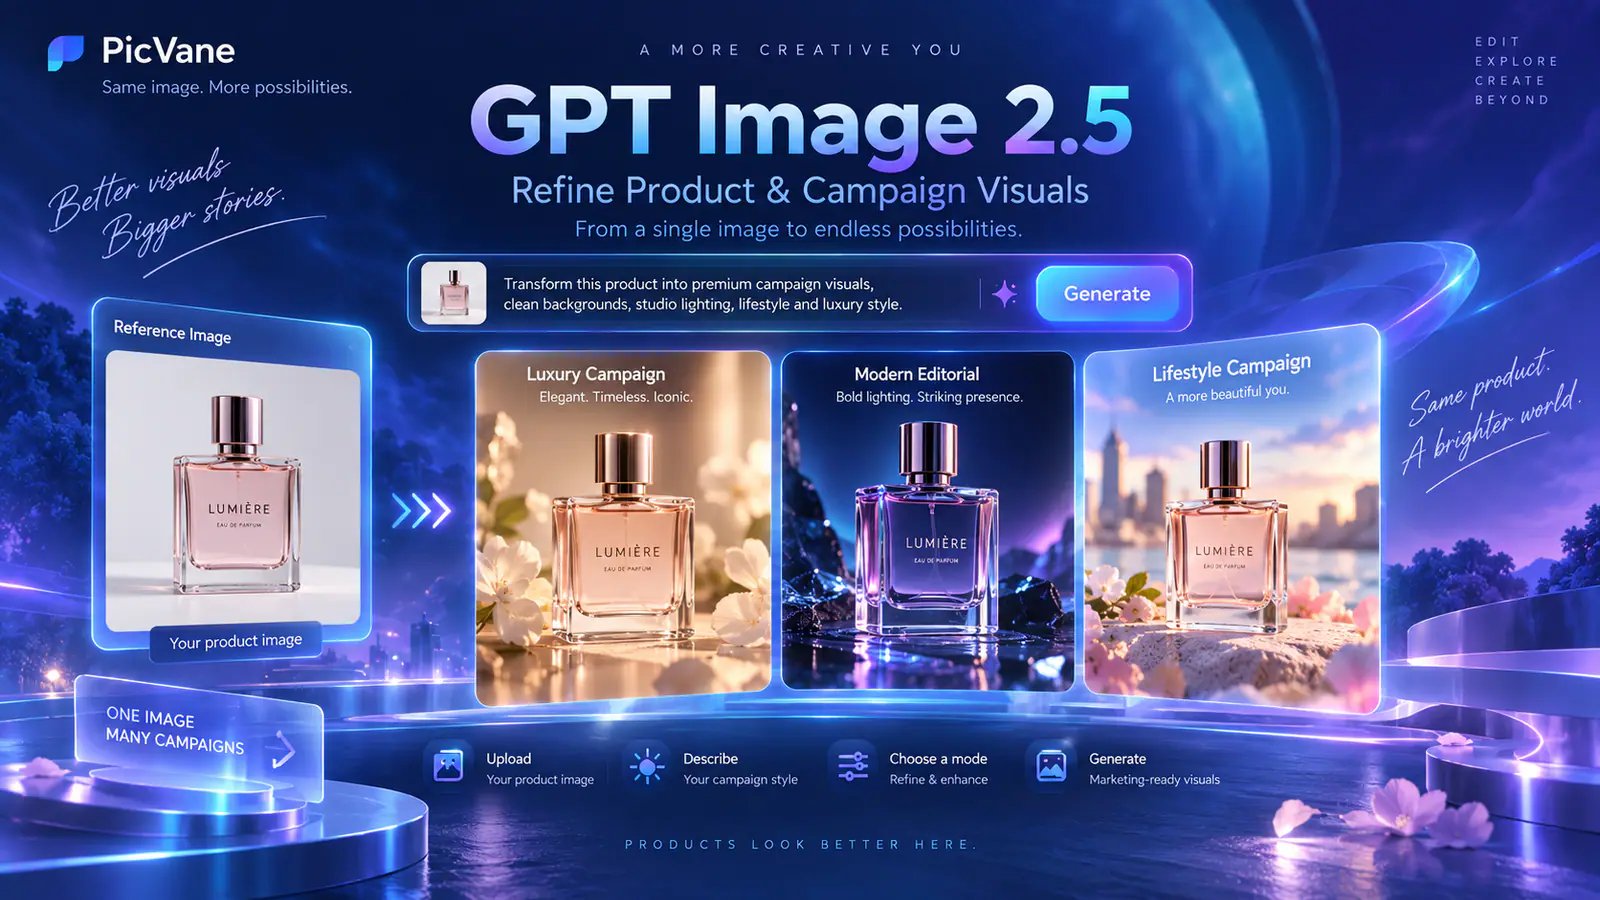
For a campaign image, start with one approved photo so you can check the output against a known reference. Ask for a single change, such as a matte stone counter instead of a glossy tabletop. State that the label, cap, and product dimensions should stay the same. Review the lettering and the edge where the object meets the surface. If you later want a different shadow, make that a separate pass so you can tell which request introduced a change.

Compare an Edit Pass
Illustration of a product shown in different campaign settings

Adjust the light or texture in a portrait

Describe where the light comes from, how soft it should be, and which surfaces matter. For a portrait, ask for soft window light from the left while keeping the face, clothing, and framing from the reference. Check whether the change reads at thumbnail size, then zoom in to inspect skin texture and the boundaries around hair and fabric. Keep the source nearby when deciding whether the result still fits the brief.

Try a Detail Pass
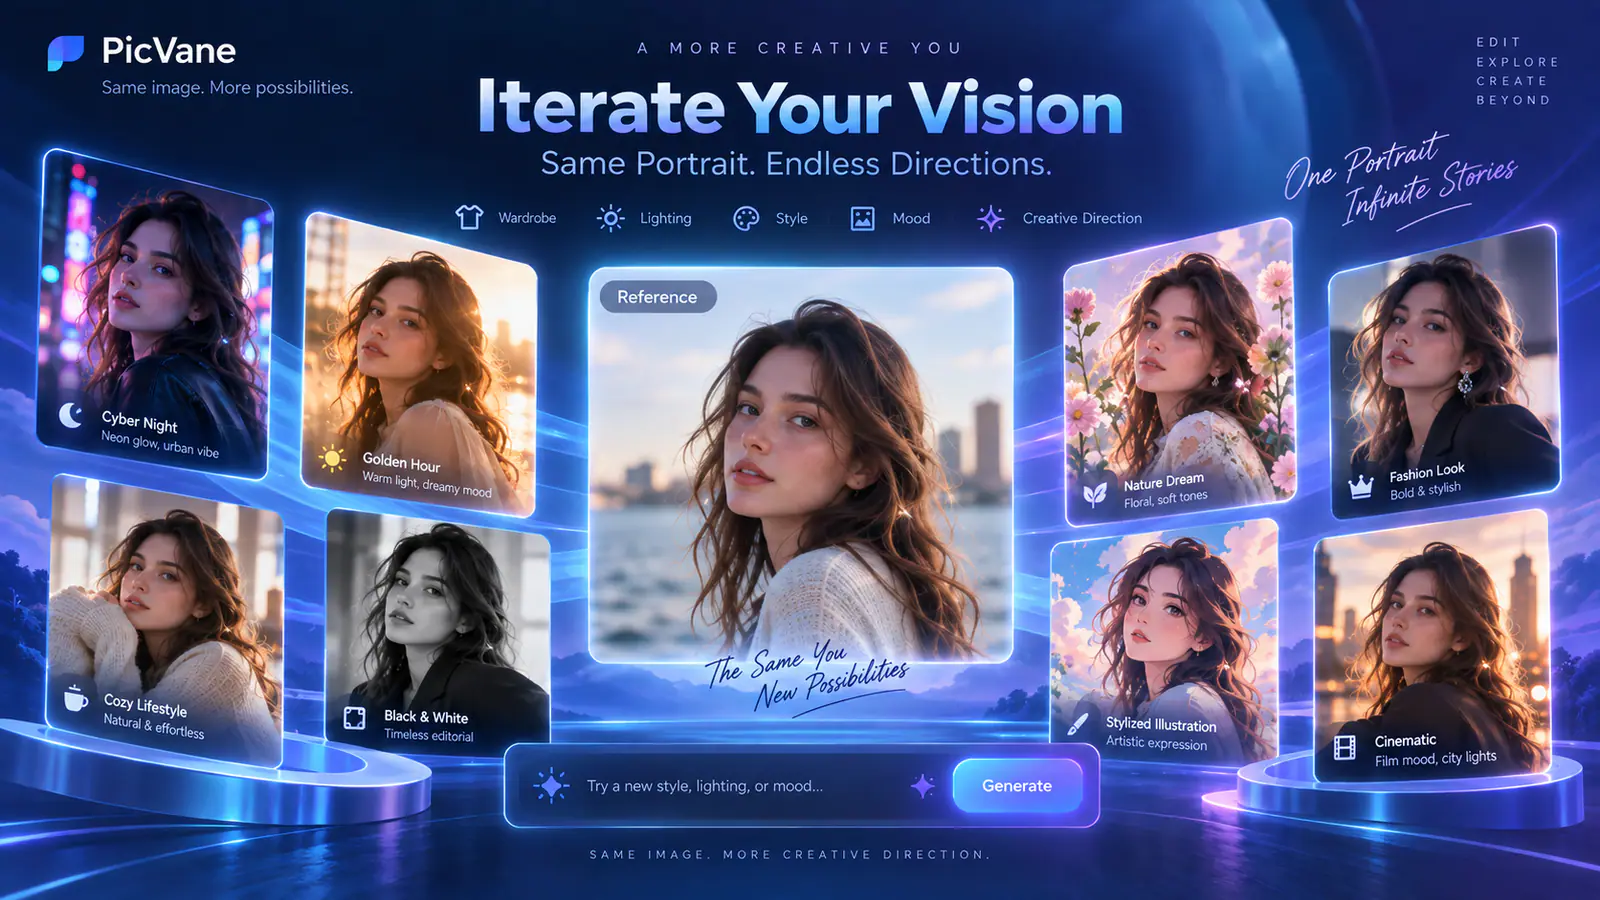
Illustrated portrait variations with different styles and lighting

GPT Image 2.5 Flare vs Sunburst

Use the same editing controls for both variants. Compare the outputs against the details that matter for your project.

Start with Flare for quick iterations

OpenAI positions Flare for faster image work. It is the default on this page and a practical starting point when you are testing a background, trying a color direction, or making an early draft. Save the instruction that produces the clearest change so you can reuse it later.

Try Sunburst for fine details

OpenAI positions Sunburst for precise editing and detailed visual work. Try it when small elements such as stitching, engravings, or reflected edges matter to the brief. Compare those elements with the source and decide whether the result is ready for the next step.

Name what should stay the same

Give the model a short list of elements to preserve. “Keep the front label and the camera angle” is easier to check than “keep everything else.” If the image contains a reference for style and another for identity, explain which one controls each part of the result.

Review the output before using it

Inspect readable text, edges, proportions, and repeating patterns after each pass. A preview may hide defects that appear on a product page or in a larger export. If the result misses a required detail, return to the source and narrow the edit to that change.

GPT Image 2.5 FAQ

Find the reference requirements, available settings, and how to choose between Flare and Sunburst.

GPT Image 2.5 is an OpenAI model family for image generation and editing. This workspace gives you two variants for edits based on a reference image. Flare is designed for fast iteration, while Sunburst is designed for work that calls for more detail and editing precision.

Try Flare first to compare backgrounds, lighting directions, or early concepts. Try Sunburst when the edit needs more attention to a detail such as a product label or a piece of fabric. To compare the two, keep the reference, prompt, aspect ratio, and resolution the same.

Try GPT Image 2.5 Flare and Sunburst

Choose Flare or Sunburst, upload a reference, and describe one change. Compare the result with the original before you move on to the next edit.