
Loading...

MiniMax H3 Reference Workspace

Images
0 / 16
0/5000
Aspect Ratio
Resolution
Images
Output format
Required credits
4

Sample Images

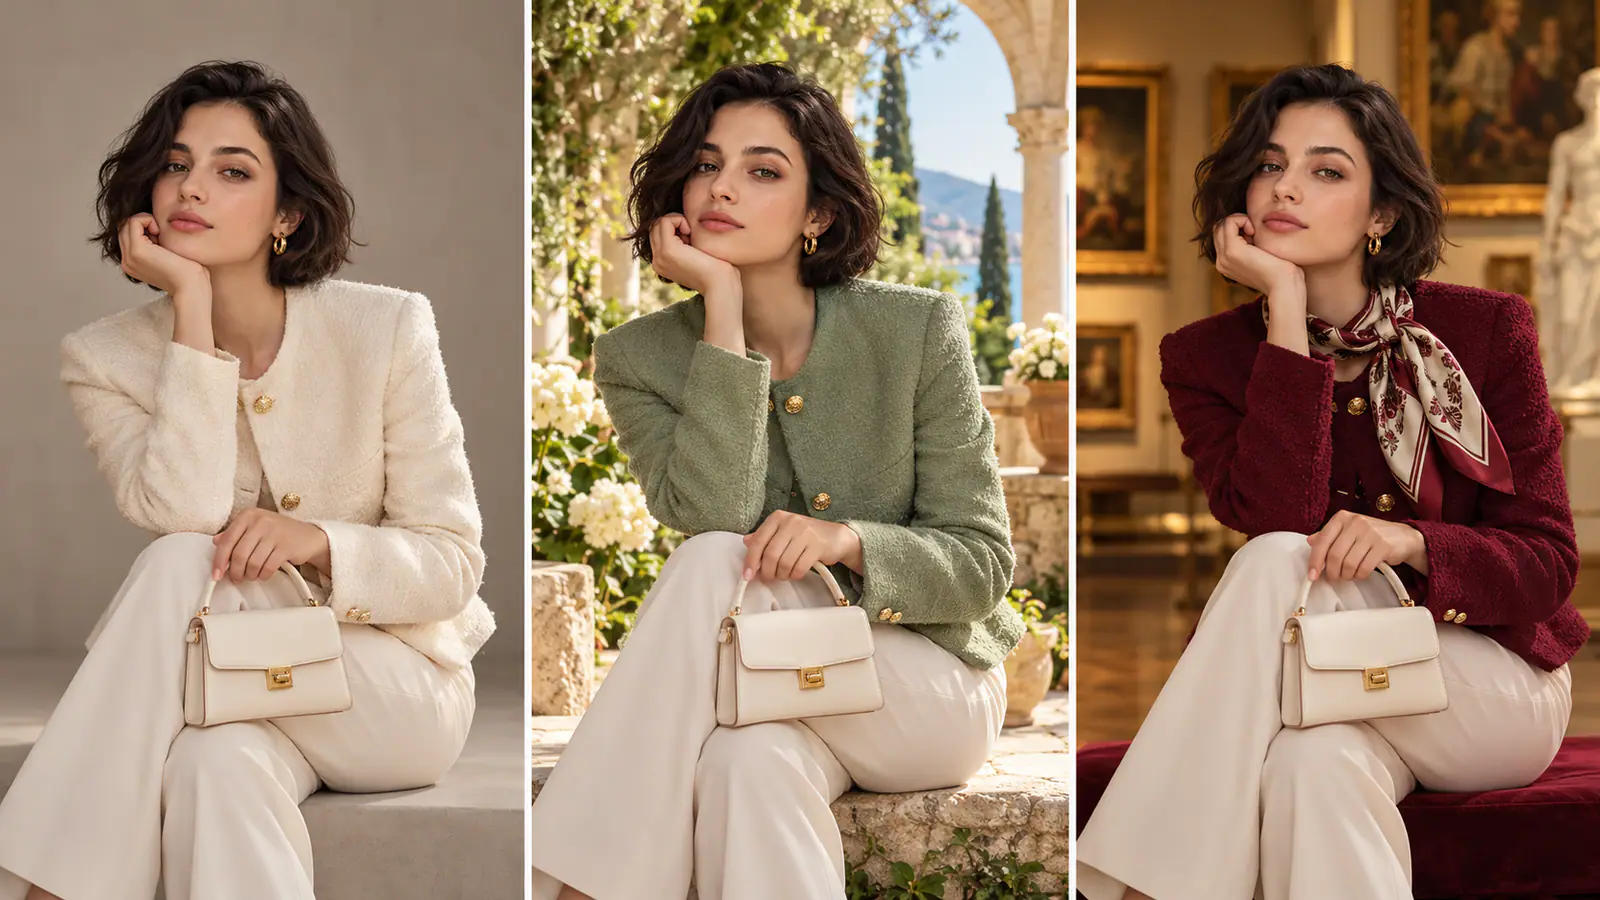
Three styling concepts for a seated woman with a cream handbag, shown in a studio, garden, and gallery

MiniMax H3 Image to Image

Build a new composition from one or more reference images. Use MiniMax H3 to restyle an illustration, create campaign variations, or combine a subject and setting from separate images. Give each reference a role and name the features to carry over, such as a product's shape or a character's pose.

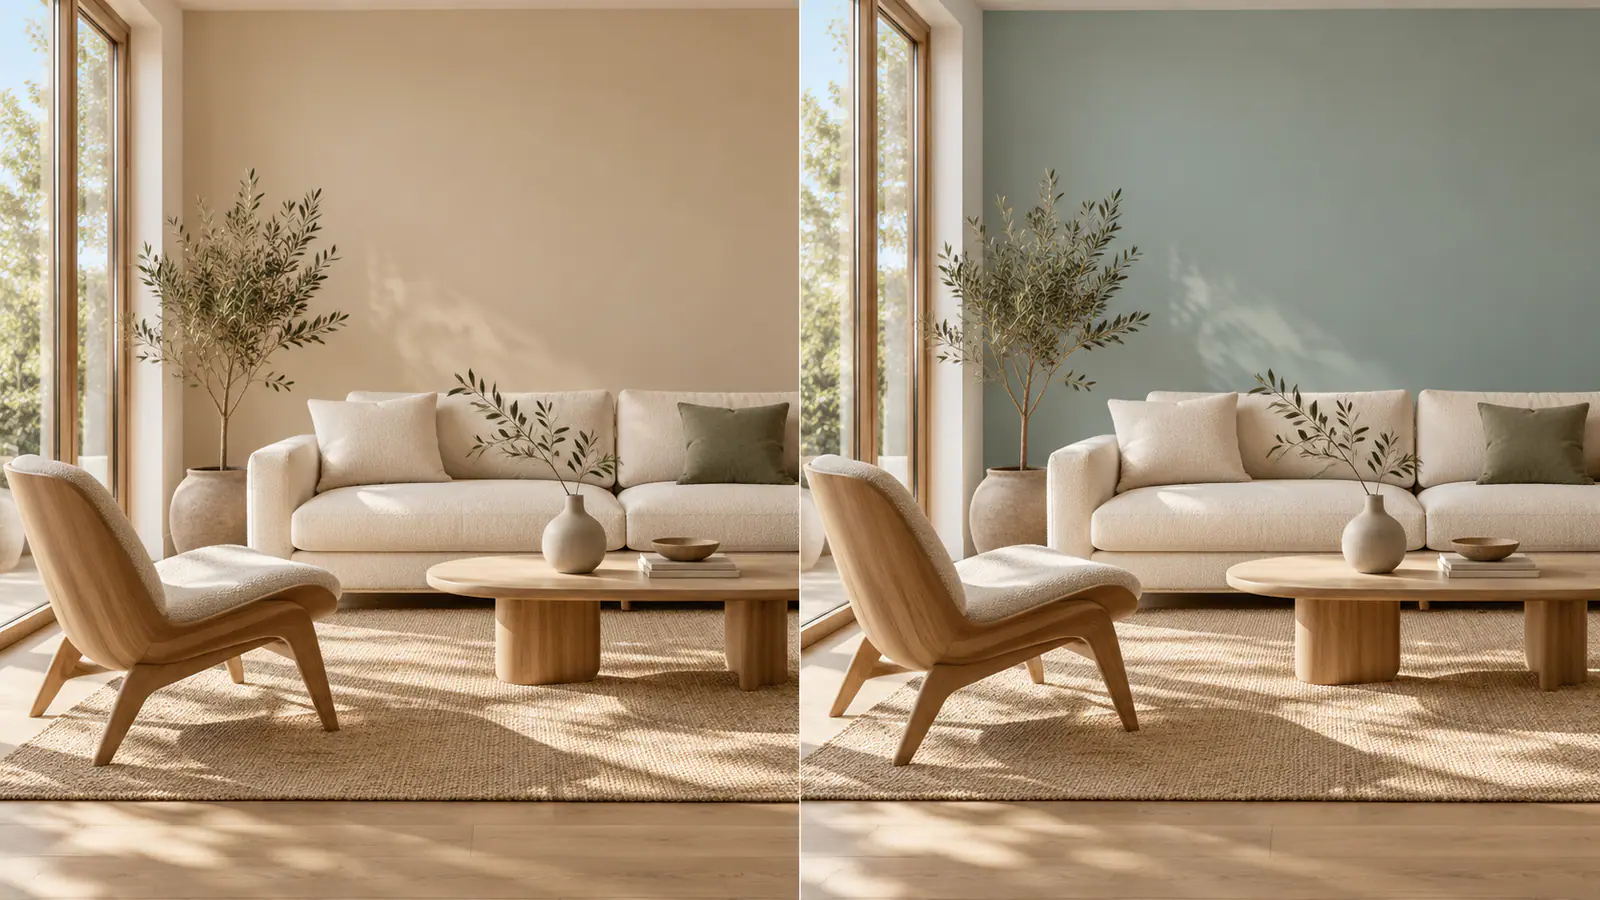
Two views of a furnished living room showing a beige wall and a muted blue wall

How to edit an image with MiniMax H3

  1. Start with the image you want to edit

    Upload the original as image 1 so you can refer to it unambiguously. Pick a version that clearly shows the details you want to keep, especially the silhouette, face, or product markings. Add another reference if it has something specific the original lacks, such as a backdrop or a material. If your goal is a small change to one photo, one clear source image is a good starting point.

  2. Write the change and the details to keep

    Start with a visible instruction and name where it applies. For the room above, try “Repaint the back wall in muted blue. Keep the sofa, oak table, window light, and camera angle from image 1.” Include a color, material, or direction when it matters. For several references, identify each by its upload order and assign it a role before describing how the pieces should fit together.

  3. Set the frame and review the first pass

    Choose an aspect ratio for the finished image and pick 1K, 2K, or 4K in the editor. Generate a first pass and open it beside the original. Check whether the requested change reads at a glance and whether the details you listed still match. If the new background works but an important detail drifted, keep the useful result for comparison and revise from the original with a more specific instruction.

Image to Image examples for three common edits

Match the prompt to the scope of the change. Specify the new environment for a background swap, the visible treatment for a restyle, or which input supplies each part of a composite.

Give a product photo a new background

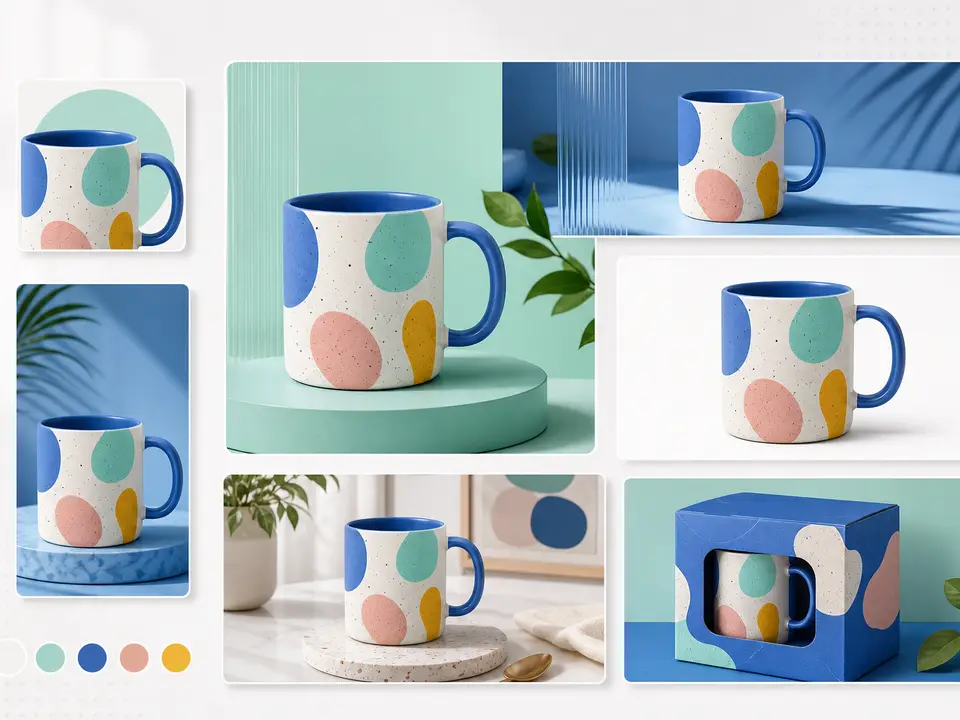
Start from the clearest view of the product. A background change can adapt the same mug photo to a store listing, an email banner, or a seasonal campaign. Describe the surface and what sits behind it, then specify how the product should meet the scene. Try “Place the mug from image 1 on a pale stone counter against a matte teal wall. Keep the handle on the right, the blue rim, and the positions of the colored dots. Add a soft contact shadow directly under the mug.” For a listing, compare the handle shape and pattern with the original at full size. If you are planning a banner, ask for clear space on one side of the product so your headline has a place to sit.
Edit a product photo
The same blue-handled spotted mug in several settings, including a teal display and a pale countertop

Restyle a portrait while keeping the pose

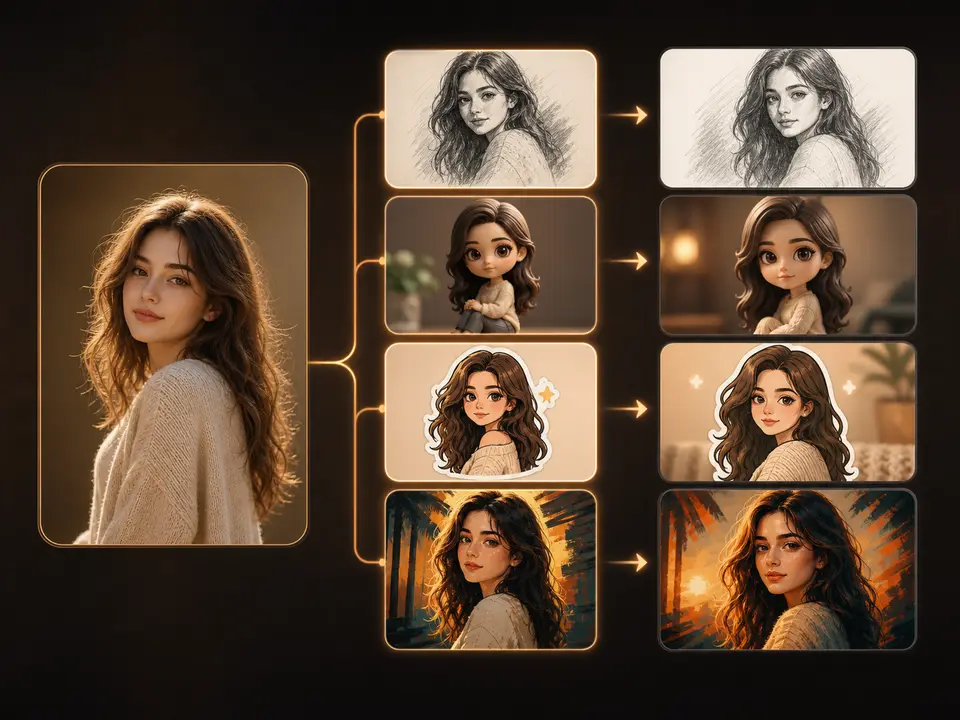
Decide how far the treatment should move from the source. A graphite study needs different instructions from a warm cinematic portrait. Describe visible traits of the new treatment such as grain, line weight, color, or lighting. Try “Render image 1 as a graphite portrait on warm ivory paper. Use fine pencil lines around the face and broad soft shading for the sweater. Keep the over-the-shoulder pose, the direction of her gaze, and the crop at mid-torso.” If the first version feels too stylized, ask for softer shading or less exaggerated proportions. Compare it against the original for the details that make the pose recognizable: the head tilt, shoulder line, and gaze.

Restyle a portrait
A reference portrait beside graphite, cartoon, sticker, and painterly style studies

MiniMax H3 Image multi-image editing

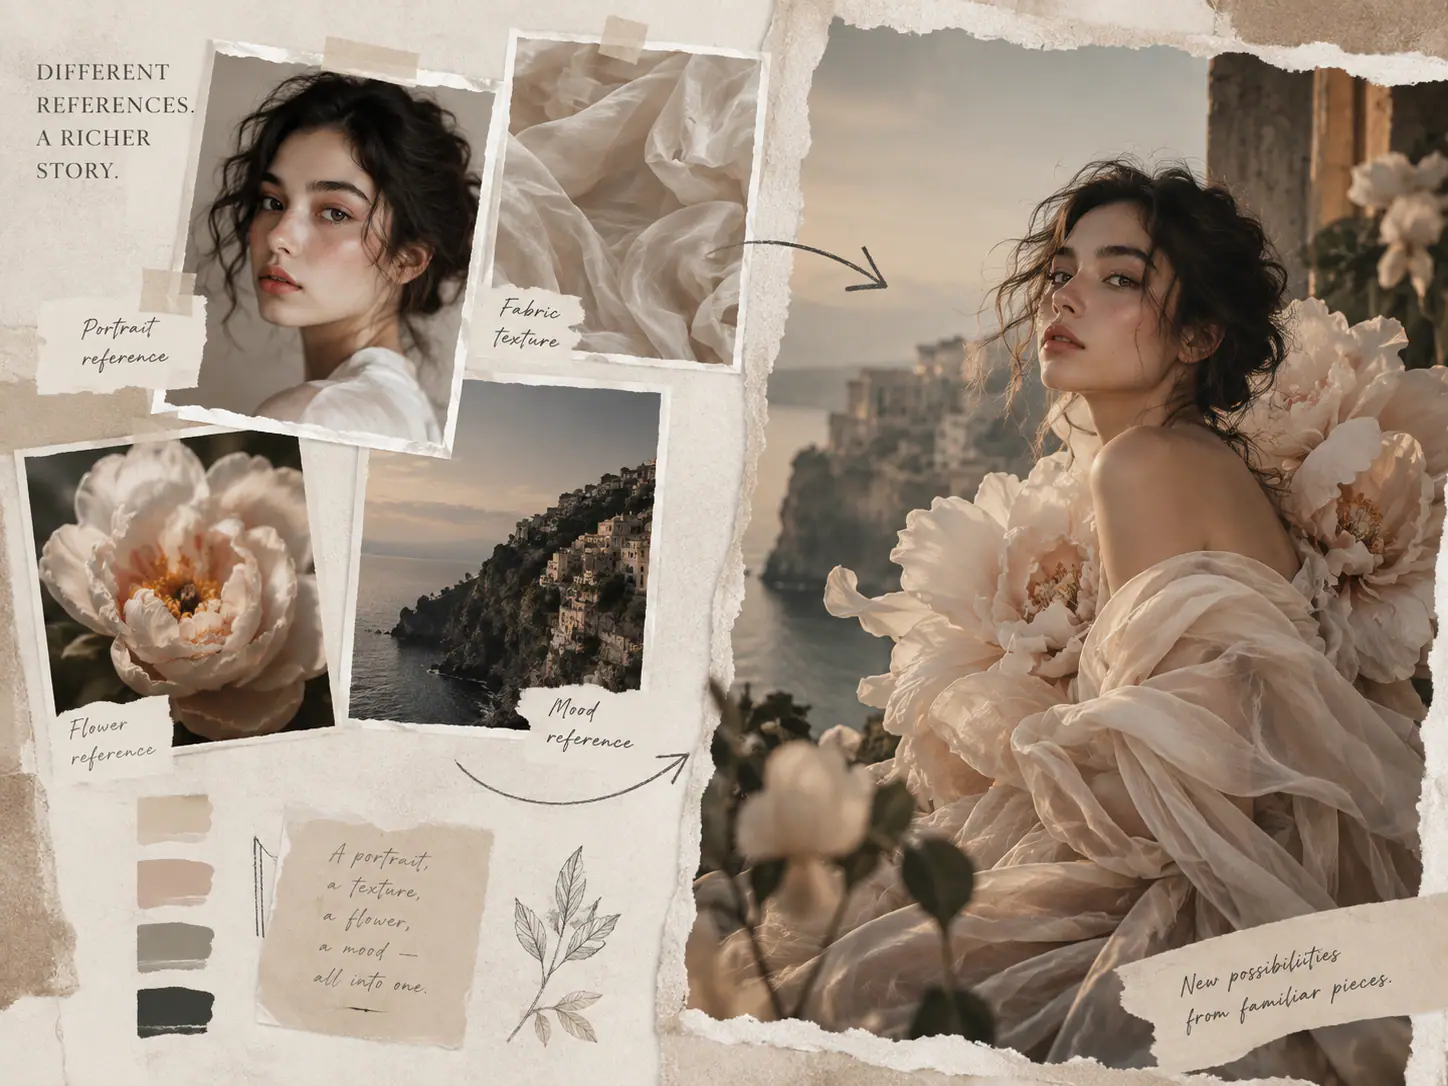
Use several images when the subject, clothing, and setting come from different places. Decide which reference controls the pose before describing the scene. Try “Use the person and head angle from image 1. Use the sheer fabric texture from image 2 for the dress, the pale flowers in image 3 as foreground props, and the coastal cliffs in image 4 as the background. Light the whole scene from the left.” This gives every input a specific job and describes how the elements share the frame. If the coastline starts dominating the portrait, try specifying a smaller background area. If two references suggest different clothing, remove the extra one or name the garment to use.

Combine image references
Mood board pairing a portrait, sheer fabric, flowers, and coastal cliffs with a floral fashion composition

What to check before keeping an edit

Compare the result with the source at the intended display size. These checks help you decide whether to keep the result or revise the brief.

Check the details that identify the subject

Replace a broad instruction like “keep the product the same” with a short list of visible details. For a package, compare the cap, label placement, and shape of the bottle. For a portrait, check the expression and pose. Put details that determine whether you can use the image near the start of the prompt, then inspect them closely before choosing a result.

Remove competing instructions

A low camera angle, an overhead view, and a request to keep the original perspective are three different framing directions. Choose one and make it clear which reference supplies it. When you have several images for the same detail, start with the clearest one. Add the others only when they show something the first cannot, such as the back of an object.

Protect the crop for the final placement

Use 1:1 for a square tile, 16:9 for a wide banner, or 9:16 for a story. If the source is wider or taller than the result, say what must stay in frame and where the subject should sit. Check the edges for clipped features and allow a little extra space around elements that need room for a headline or a later crop.

Zoom in on edges, shadows, and lettering

A background swap can look convincing at thumbnail size while leaving a halo around hair, an inconsistent shadow, or warped lettering on a label. Inspect the result at a larger size before you export. If the brief calls for exact packaging text or a pixel-accurate cutout, reserve that detail for a finishing pass in an editor with manual controls.

MiniMax H3 Image to Image FAQ

Reference limits, file formats, and what to do when an edit changes too much.

MiniMax H3 Image Edit accepts up to 16 reference images per request. One image is enough for a targeted change such as repainting a wall or restyling a portrait. Add more when another image has a specific detail you want to borrow. A clear set might use image 1 for the subject and image 2 for the material, with a third image only if it establishes the setting.

The editor accepts JPEG, PNG, WebP, and AVIF references up to 10 MB each. For a larger file, export a smaller copy and check that the part you want to edit is still clear. If the photo comes from a phone in a different format, convert it to JPEG or PNG before uploading.

Bring your first reference into the editor

Start with one image and one visible change. If you are still working from a written idea, use Text to Image to create a starting point for your edit.